Troubleshooting of common faults of the solar street lamp
Approximately 65% of solar street lamp downtime is caused by easily fixable issues, such as loose wires, misconfigured controllers, or dirty panels, resulting in hundreds of dollars in unnecessary repairs per light for municipalities and businesses each year. As a professional solar street lamp manufacturer, we offer simple troubleshooting tips that can save weeks of dark streets and wasted budgets.
Troubleshooting Solar Street Lamp “No Light” Issues
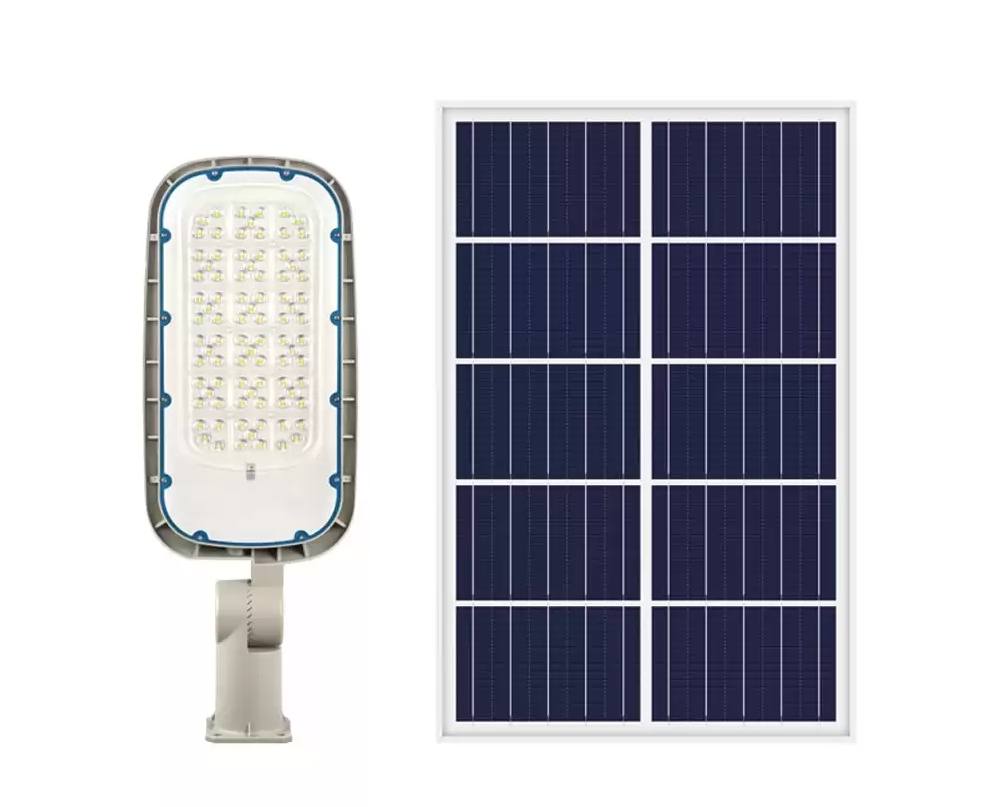
Solar street lamps failing to illuminate at night is one of the most common complaints we hear—and 80% of the time, the solution is simple. First, check the manual switch: Most solar street lights have a three-position switch on the controller or light itself. If it’s set to “off,” switch it to “auto.” Next, inspect the LED bulb: Check the bulb or base for burn marks. If damaged, replace it with the wattage recommended by the solar street light manufacturer.
Next, check the wiring connections: Turn off the light fixture and inspect the bulb, controller, and battery for loose, frayed, or disconnected wiring. Loose wiring in the controller is often the cause. Gently press the connector to ensure it’s secure. Finally, test the controller’s LED indicator. Most controllers use a red/green light to indicate power. If no light illuminates, the controller may need to be reset or replaced. If these steps don’t work, contact the manufacturer.

Fixing Dim or Flickering Lights on Solar Street Lamps
Dim or flickering lights are not only annoying but also reduce pedestrian and driver safety. First, check the battery charge. Low battery levels can cause dim output. We can use a multimeter to test the battery voltage. If the battery is low, manually charge it with a compatible charger. Next, inspect the bulb for dirt or debris. Dust, insects, or bird droppings on the bulb cover can obstruct the light. Wipe it clean with a soft, damp cloth.
Next, check for voltage drops. Excessively long or thin wires between the battery and bulb can reduce current flow. During installation, we recommend using 14-gauge or thicker wire for distances over 10 feet. If your wire is too thin, you may need to upgrade to a thicker wire. Finally, verify the controller’s “Dim Mode.” Some bright solar street lamps have a dimming feature (for example, reducing brightness by 50% after midnight) that could be accidentally activated.
Troubleshooting Solar Panel Charging Problems
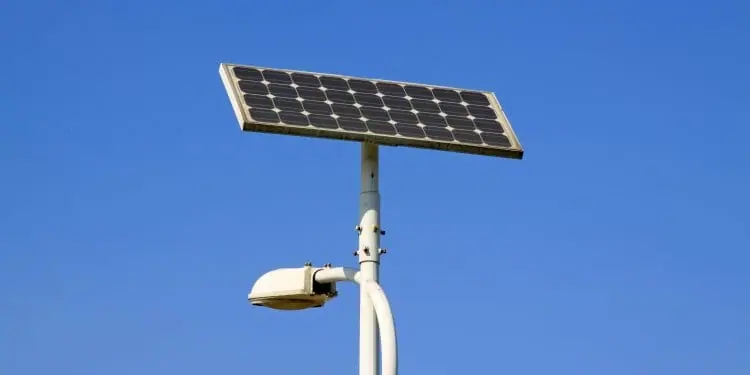
If your solar street lamp’s battery never fully charges, the problem is likely with the solar panels. First, check for obstructions: Leaves, snow, dirt, or bird nests on the solar panels can block sunlight. Use a soft brush to clean the panels. Additionally, in areas with heavy snow or debris, consider solar street lamps with panels tilted at a 30-45 degree angle; this design helps automatically remove snow and dirt. Next, check the alignment of the panels: In the Northern Hemisphere, solar panels need to face due south and match your latitude to maximize sunlight absorption.
If wind or vandalism has caused the panels to move, use a compass to realign them. Then, test the panel output with a multimeter: On a sunny day, place the multimeter probes on the positive and negative terminals of the panel. If the reading is lower than this, the panel may be damaged and need to be replaced.
Troubleshooting Rapid Battery Drain
If your solar street lamp dies within hours of turning it on, rapid battery drain is a common cause, and this problem is often preventable. First, check the age of the batteries: lead-acid batteries typically have a lifespan of 3-5 years, while lithium-ion batteries have a lifespan of 5-7 years. If your batteries have exceeded their lifespan, replace them with batteries that match the voltage and capacity (Ah) specified by the solar street lamp manufacturer.
Next, check for parasitic loads: a faulty bulb, damaged wiring, or a faulty sensor may be drawing power from the battery even when the light is off. To test this, disconnect the battery and use a multimeter to check the current between the light wires. If current is present, isolate the issue by disconnecting individual components. Next, verify the controller’s over-discharge protection setting. If it’s set too high, the light will shut off prematurely. Use the controller’s dial or app to adjust it for a 12V or 24V system.
Troubleshooting Controller Failures
The controller is the “brain” of the solar street lamp, managing charging, lighting duration, and battery protection. Therefore, a malfunction can cause a range of problems. First, reset it. Most controllers have a small reset button; pressing and holding it for 5 seconds restores the default settings. This can resolve some common issues, such as incorrect time settings, where the street light turns on at noon instead of at dusk. Next, check for water damage: Industry standards require that the controller be IP65 waterproof; however, cracks in the housing can still allow moisture to enter. Open the controller housing and inspect for rust or water damage. Wipe dry with a clean cloth and seal any cracks with waterproof tape. For a permanent fix, replace the housing or controller. Next, update the firmware. Some modern solar street lamps utilize app-connected controllers, which necessitate occasional firmware updates to address bugs.
Proactive maintenance to avoid solar street lamp failures
The best troubleshooting approach is prevention. Check the solar panels for debris, bulbs for dirt, and wiring for damage on a monthly basis. Once a year, test the battery voltage and clean the controller’s wiring. For solar street lamp buyers, choose a manufacturer that prioritizes durability and provides clear troubleshooting guides; this will save you time and money in the long run.