What types of roofs can be used for solar panel mounting?
More than 80% of residential solar installations in the U.S. feature roof-mounted arrays, with the most common roof substrates including metal roofs, corrugated sheet, slate, tile, and asphalt shingles. We select the right solar panel mounting solutions and employ various installation methods tailored to roof materials, slope, wind zone, and structural requirements, ensuring that your residential solar installation not only meets your electricity needs but also provides an opportunity to generate income.
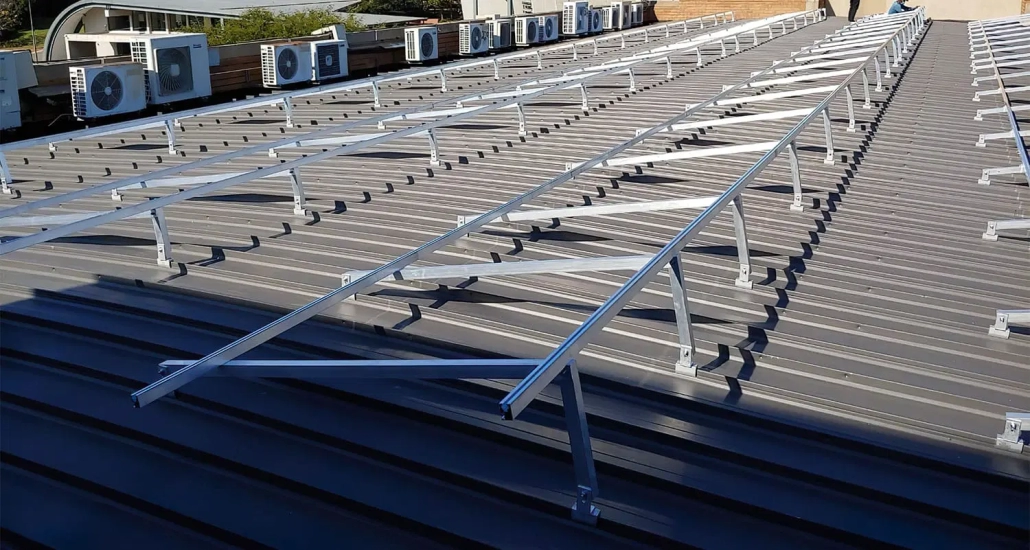
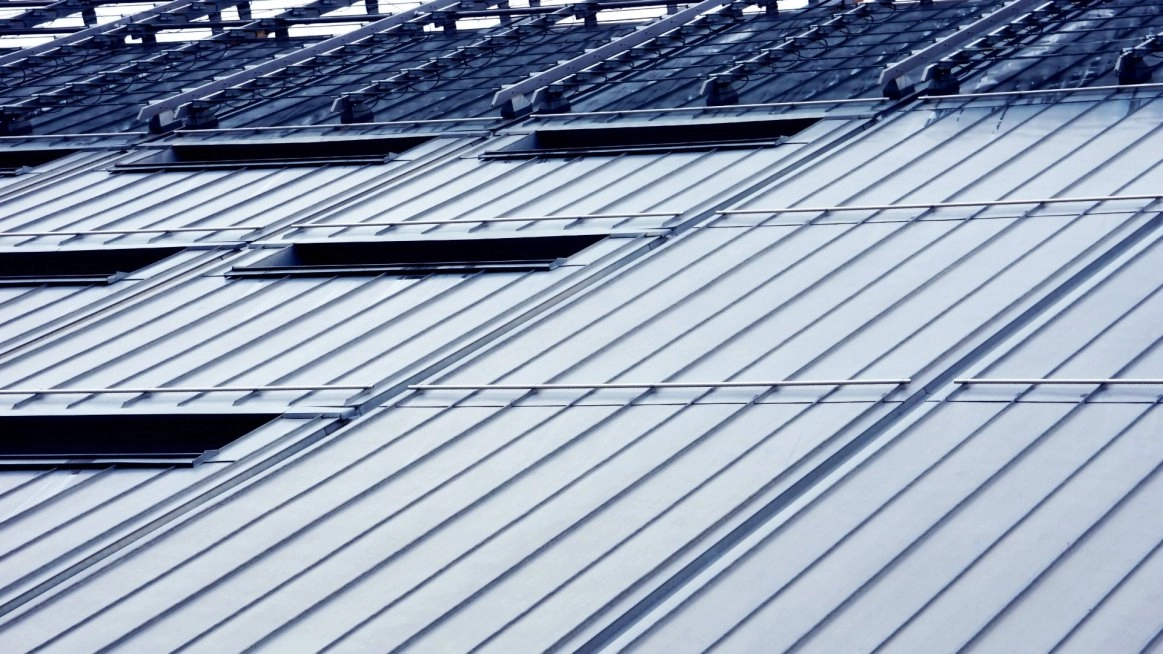
Solar panel mounting solutions for metal roofs
Solar panel mounting on metal roofs is simplified by avoiding the use of clamp-on brackets that penetrate the roof. We clamp the seams with stainless steel seam clamps, eliminating the need to compress waterproof coatings or use sealants. Installers use adjustable tilt adapters to optimize panel angles between 10 ° and 30°, based on local latitude. At the same time, we use anodized aluminum rail systems with high-strength clamps to resist wind uplift in severe weather areas, meeting ASCE-7 standards. Installers secure corrugated roof hooks and Z-mount brackets directly to purlins on ribbed metal roofs, distributing loads across multiple fasteners to minimize point stress.
According to industry benchmarks, these solar panel mounting brackets not only maintain the integrity of the roof but also minimize installation labor by up to 40%, making metal roofs the first choice for fast, reliable, and decades-long deployment of solar energy.
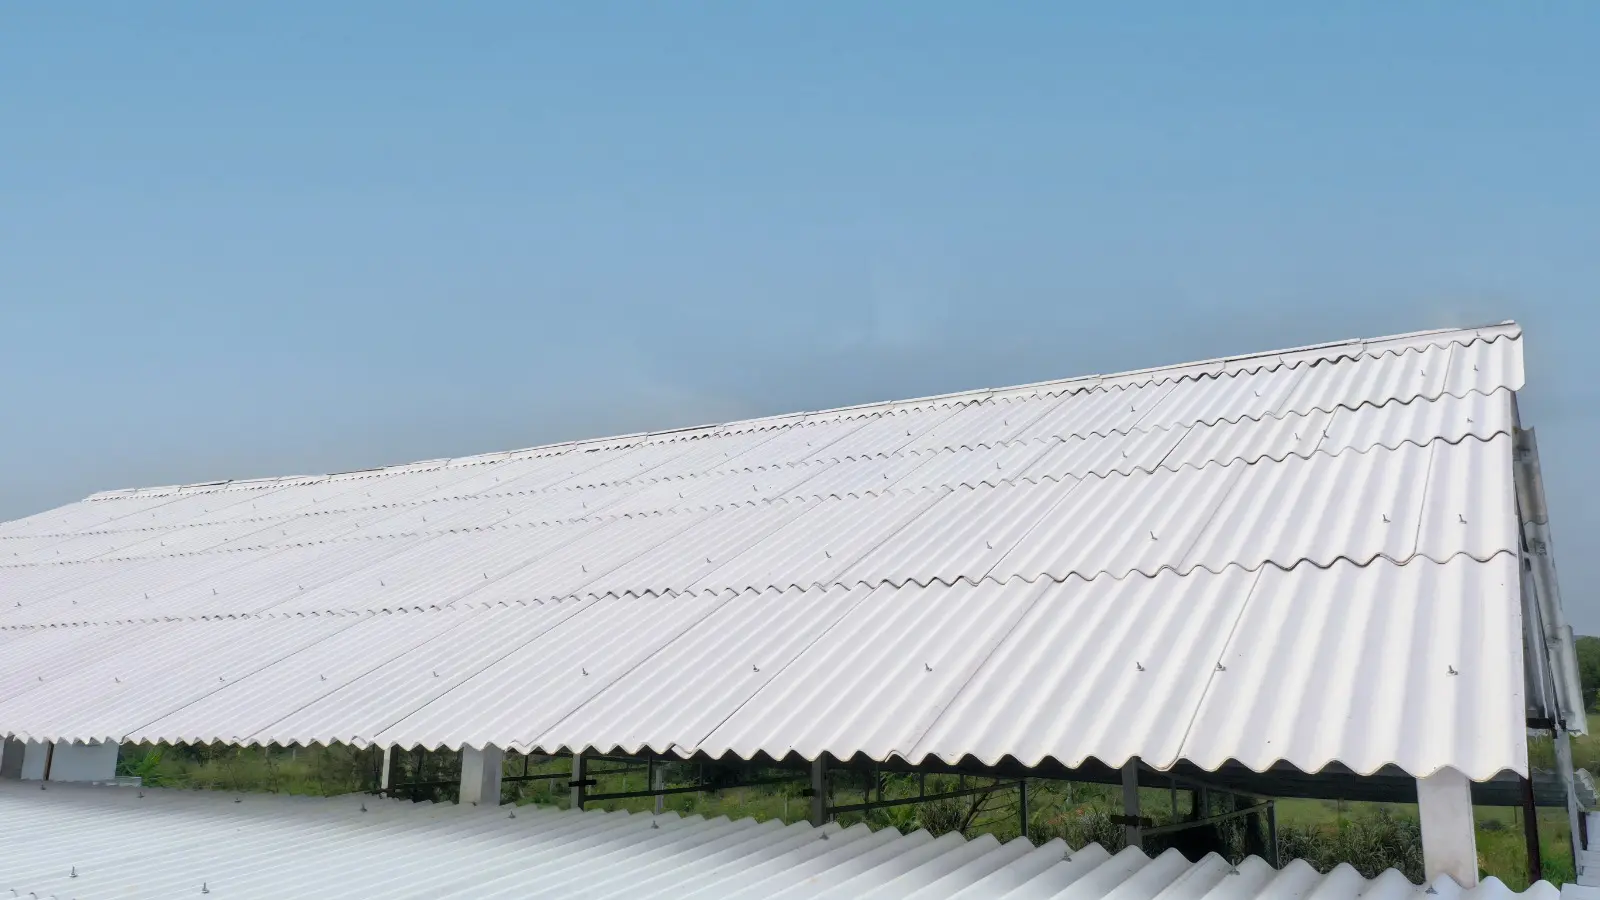
Corrugated Roof Solutions
Agricultural and industrial buildings often employ corrugated roofs, which require specialized solar panel mounting solutions to accommodate their uneven profiles and varying slopes. In addition to universal corrugated brackets, our installers use adjustable seam clamps for trapezoidal and symmetrical profiles. The system achieves metal roof-grade sealing performance without requiring any drilling. At the same time, I recommend using EPDM-lined flashing kits with serrated roof hooks to create waterproof penetrations in steel and aluminum corrugated sheets, ensuring long-term watertightness. Additionally, the trackless mounting system directly connects to the hooks, reducing the amount of track material by 20% and simplifying logistics. By matching the bracket type according to the corrugation geometry, controlling the hook torque, and accounting for thermal expansion, you can ensure a safe solar panel mounting solution that can withstand the dynamic loads and extreme climates in industrial installations.
Solar panel mounting on Slate Roofs
While slate roofs offer exceptional durability and aesthetics, their fragile nature and thickness variations complicate solar panel mounting. Our flashing roof hooks slide beneath individual slates, enabling rafter attachment without damaging the shingles. This also saves the installer from having to remove the entire shingle, preserving the slate roof’s appearance. Additionally, I specify stainless steel hooks with neoprene washers to prevent moisture from seeping between the slats, ensuring long-term waterproofing. Meanwhile, custom mounting pads spread the load over a larger slate area, minimizing stress points and reducing the risk of cracking. By choosing a low-profile track system and using protective pad buffers, we can integrate solar panels on slate roofs in historic or high-end buildings without compromising the integrity or visual appeal of the roof.

Tile Roof Solutions
Clay and concrete tile roofs require a solar panel mounting system that can accommodate the curvature and fragility of the tiles. First, our installers cut the tile grooves and install flashing sleeves to the subfloor to keep the roof waterproof. Adjustable shingle hooks are then attached to the rafters through the flashing sleeves, providing a secure anchor while allowing shingle replacement underneath the panel. We also select aluminum flashing sleeves shaped to match S-, Mission-, and Flat-Style shingles, ensuring seamless drainage and a neat finish. Additionally, universal shingle replacement hooks facilitate the replacement of broken shingles after installation. Combining these hooks with tilt-adjustable rails yields a low-penetration, high-durability solution for tiled roofs, balancing aesthetics, thermal performance, and structural reliability in solar panel mounting solutions for metal roofs and tiles alike.
Asphalt Shingle Roof Solutions
Asphalt shingle roofs remain the most common roof type in North America; therefore, L-foot mounting brackets are used with flashing sleeves to ensure the connection is both waterproof and code-compliant. As a result, there is no risk of leaks or warranty voiding when performing solar cell installations. I use stainless steel lag bolts that are drilled into the roof rafters and paired with structural aluminum rails to support module loads of up to 240 pounds per panel, meeting some local snow load requirements. For windier areas, raising the rails 1-2 inches above the roof surface can reduce buoyancy. This traditional method offers a cost-effective and durable installation solution for solar panels on asphalt shingle roofs, suitable for both residential and small commercial applications, with convenient logistics and minimal roof penetration.
Bringing successful installations to all types of roofs
Successful solar panel mounting depends on customizing the solar panel mounting brackets and rails to match the specific roof substrate, including metal, corrugated sheet, slate, tile, asphalt shingles, and others. At the same time, weather, warranty, and structural factors are considered. We will select the appropriate materials, flashings, and connection methods based on the structural, waterproofing, and aesthetic requirements of each roof type, combined with accurate site surveys and engineering load calculations to ensure that you can enjoy a safe, durable, and high-performance solar installation.