How can we solve the problem of low efficiency in solar panel kits at high temperatures?
When you install a 5kW solar panel system on your roof, and it’s a hot afternoon, the panel surface temperature can exceed 70-80°C, while the ambient air temperature is close to 40°C. In this situation, even monocrystalline silicon solar panels with a nominal efficiency of 20% will experience a significant decrease in power output. Solar cells produce more current at higher light intensity, but their voltage decreases with increasing temperature; the combined effect of these two factors reduces the maximum power output. Typically, the temperature coefficient of monocrystalline silicon cells is such that power decreases by 0.25% to 0.45% for every 1°C increase above standard test conditions. Therefore, a 50°C increase in temperature can reduce power output by approximately 12-22%, depending on the panel’s chemical composition and quality. Thus, high temperatures can cause measurable performance losses in solar panel kits.
Choosing Temperature-Insensitive Solar Panel Kits
Choosing a solar panel kit with components that minimize temperature sensitivity is crucial. Therefore, when purchasing a solar panel kit , consider the power temperature coefficient (Pmax) – the lower this value (the more negative it is), the better the component’s resistance to thermal losses. For example, high-quality monocrystalline silicon solar panels typically have a power temperature coefficient of -0.30%/°C, while lower-end polycrystalline silicon panels may have a power temperature coefficient of -0.40%/°C or lower.
In addition, check the following attributes: cell type (N-type monocrystalline silicon cells perform better at high temperatures than older P-type cells), backsheet thermal emissivity, cell metallization quality, and lamination materials.
Also, follow these selection principles: (1) Prioritize components with a clearly documented low power temperature coefficient; (2) Prioritize components using tempered low-iron glass and high-transmittance encapsulation materials to ensure optical performance is maintained at high temperatures; (3) Choose mechanical designs that facilitate heat dissipation from the cell layer, such as the frame, backsheet, and junction box mounting methods. Finally, be sure to verify the manufacturer’s thermal testing (NOCT/IEC conditions) and request actual thermal data whenever possible.
Passive Cooling Film Solutions for Solar Panel Kits
Passive cooling films and coatings are a cost-effective first line of defense. They include radiative cooling films, selective infrared emissive coatings, and thermally conductive adhesive layers, which alter the path of heat dissipation from the solar cells. Radiative cooling films reflect sunlight while strongly emitting thermal infrared radiation, allowing the modules to radiate heat into the night sky and partially dissipate heat during the day. Additionally, highly conductive backsheets or adhesive films reduce the thermal resistance at the interface between the cell laminate and the aluminum frame, increasing heat flow into the frame and subsequently dissipating it into the surrounding air.
In practice, engineered multi-layer cooling films combined with high-emissivity backsheets can reduce the steady-state temperature of the modules by several degrees Celsius—enough to compensate for several percentage points of power loss. However, it is crucial to verify the manufacturer’s long-term aging data and ensure compatibility with existing lamination processes.
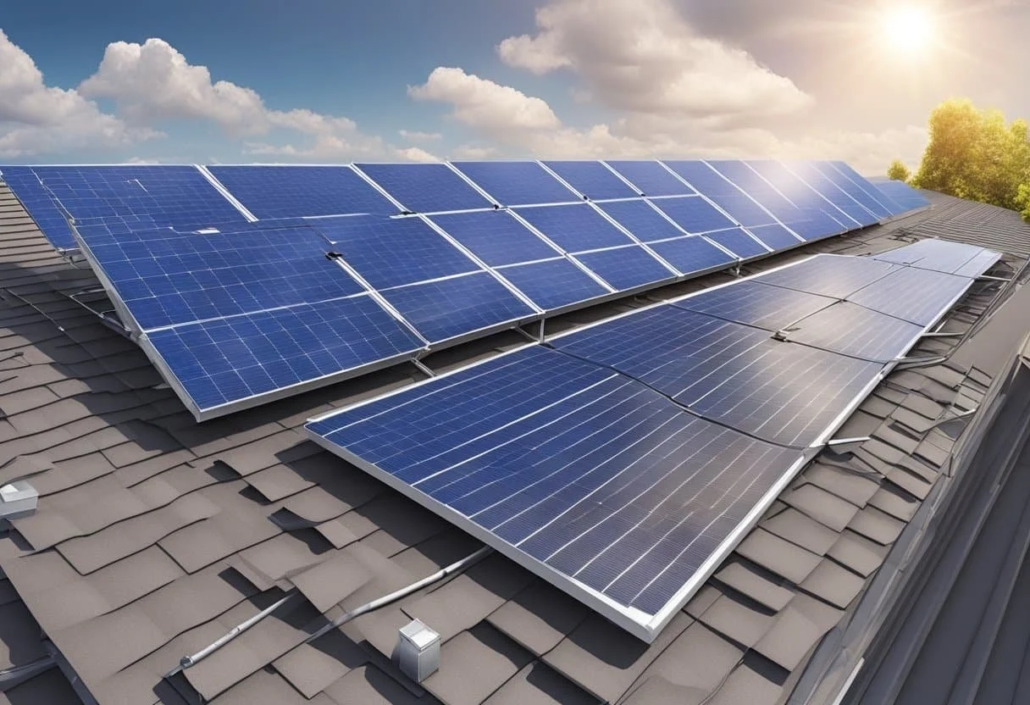
Ventilation Measures – Design, Installation, and Airflow Engineering
Ventilation is the most direct and reliable method for reducing module temperature. A well-designed mounting system creates convective airflow behind and beneath the modules, carrying away heat.
Practical measures include:
1. For residential systems, maintaining a continuous air gap of at least 30-50 mm between the modules and the roof/structure—larger gaps (50-150 mm) are more effective for commercial arrays;
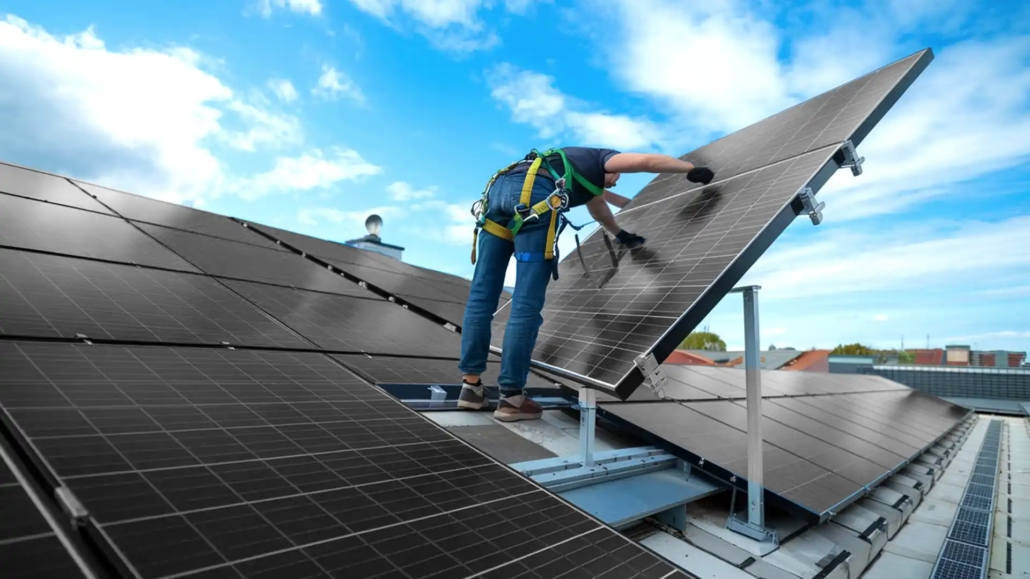
2. Adjusting the module orientation to create chimney effect channels and facilitate wind-driven lateral airflow;
3. Using slotted rail systems or spacers to ensure uniform gaps and prevent debris accumulation;
4. Designing edge gaps and drip edges to prevent localized overheating. For ground-mounted solar panel kits, raising the mounting height (≥0.6 meters) enhances natural convection and can sometimes create passive airflow beneath the modules, significantly reducing module temperature.
Active Cooling Strategies for High-Performance Solar Panel Kits
Active cooling becomes particularly important when the value of the added energy outweighs the capital and operating costs—for example, in concentrated photovoltaic power generation, solar+storage systems with high battery charging costs, or commercial PV arrays with short payback periods. Forced-air cooling systems can use low-power fans integrated into the component frame or subframe ducting to draw ambient air into the ventilation channels. Water cooling offers even higher heat dissipation efficiency.
When designing an active cooling system for solar panel modules, the cooling capacity should be determined based on the expected heat load, controlled via temperature setpoints or Maximum Power Point Tracking (MPPT) telemetry, and include redundancy for increased reliability. A life-cycle cost analysis should be performed – active cooling typically recovers only the energy it consumes, with diminishing returns beyond a certain point, and may therefore be suitable only for hot, sunny regions or high-value installations.
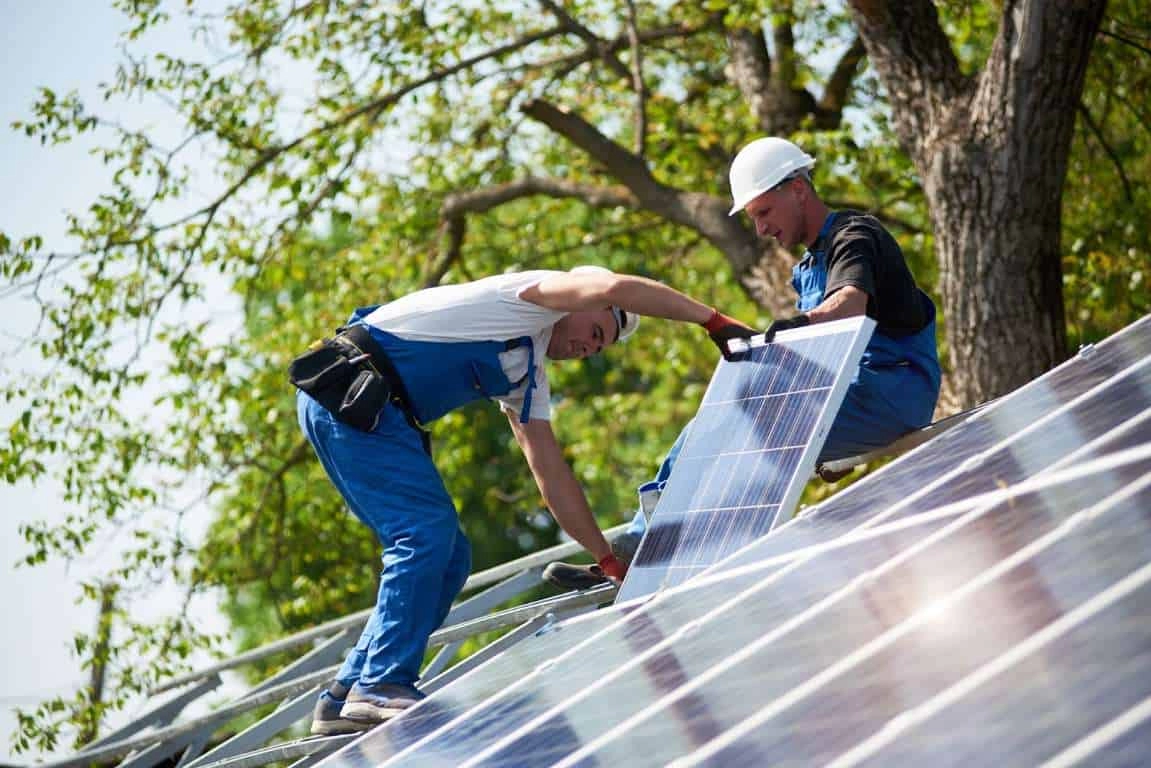
Ensure proper installation and regular maintenance
High temperatures not only reduce instantaneous efficiency but also affect long-term reliability. Excessive module temperatures accelerate discoloration of encapsulation materials, embrittlement of backsheets, and solder joint fatigue. Therefore, installers should employ installation methods that improve heat dissipation and extend lifespan. In humid or coastal high-temperature regions, they should use corrosion-resistant frames and stainless steel fasteners. Easy access for cleaning and inspection of heat sinks and vents is essential.
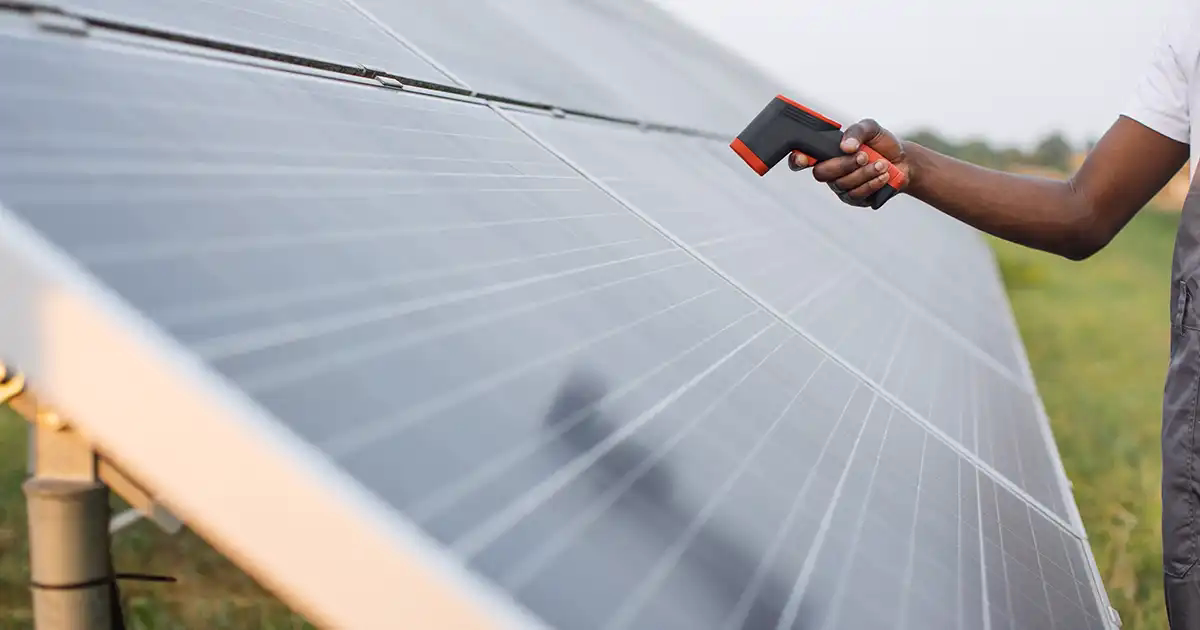
Use hydrophobic and breathable seals at frame corners to prevent moisture ingress while allowing for thermal expansion. Furthermore, regular infrared thermal imaging should be performed to detect hotspots early, and electrical performance testing should be used to quantify irreversible performance losses. During procurement, require accelerated thermal cycling and damp-heat test reports from the solar panel kit manufacturer to ensure your solar panels perform reliably.
Improving operating efficiency under high temperatures
When purchasing solar panel kits for hot climates, choose monocrystalline modules with a low temperature coefficient and thermal cycling testing. Where appropriate, consider using high-emissivity backsheets or radiative cooling films. Additionally, design a ventilated structure during installation, leaving 30-50 mm of clearance for residential applications and larger gaps for commercial use; adjust the array orientation; and finally implement a monitoring and MPPT-compatible control system to improve operating efficiency in response to thermal events.